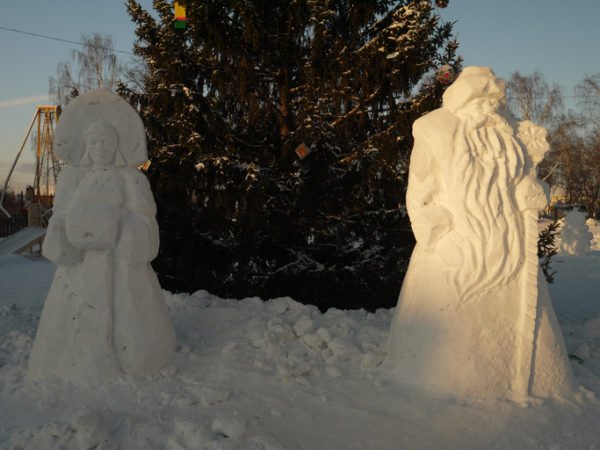
Building a snowman is a great way to fight cabin fever and spend some quality time with the family. But this winter, why not try upping your game by creating something a little more exotic—a full-fledged snow sculpture?
While they may look complicated, snow sculptures are surprisingly easy to make, says Don Berg, an artist and the head of the U.S. National Snow Sculpting Competition. Here are his tips for wowing your neighbors with a snowy creation.
Understand The Basics
Unlike making a snowman, where you stack balls of snow on top of each other, snow sculpting is a reductive process. You start with a compressed block of snow and chisel away at it until you have the finished product.
Ready to Help Protect Your Loved Ones?
Life insurance could help provide financial support for the people who count on you.
Learn MoreStart Small
Snow sculpting is an art form, and like any creative pursuit, it takes practice. If you’re just beginning, start with a relatively simple subject and work your way up to more complicated forms.
Have A Plan
Improvising a snow sculpture can be a recipe for disaster. Before you get started, iron out exactly what it is you’ll be making. Once you begin, keep a visual reference of your subject—like a sketch or figurine—on hand.
Wait For The Right Temperature
The sweet spot for snow sculpting is between 20ºF and 25ºF, says Berg. At that temperature, snow is supple; it will hold together and mold easily. If it’s much warmer than 25ºF, there’s a chance your sculpture will melt. Once the temperature drops below 20ºF, the snow becomes drier and more brittle, making it harder to work with.
Build A Form
The starting point for any snow sculpture is a highly compressed block of snow. There are a couple of ways you can make one. For a small project, try mashing snow into a cooler or a metal garbage can. If you’re more ambitious, you can build a frame—known by sculptors as a form—using plywood and 2x4s. Make sure you reinforce it though; a weak form will buckle under the weight of a lot of snow.
Compress The Snow
Now comes the fun part. Toss the snow into your form and stomp on it until it’s heavily compressed. Once that’s done, remove the form.
Arm Yourself

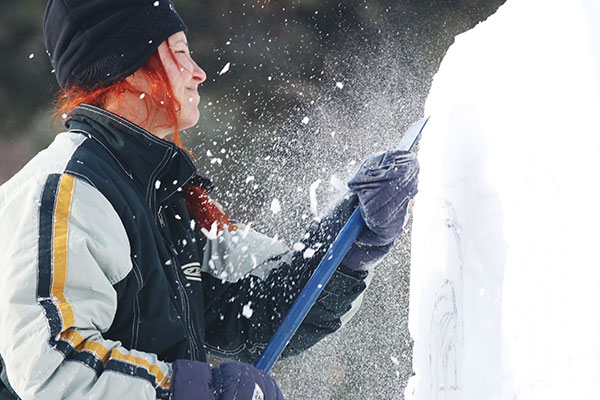
Luckily, you’ll probably find a plethora of sculpting tools in your garage. Chainsaws are great for removing large chunks of snow. Ice choppers—those long-handled tools with metal ends—are ideal for molding hard-to-reach places. Chisels and drywall saws are perfect for detail work.
Sculpt Away
Now it’s time to grab your tool of choice and start chipping away at your block of snow. Try to go slowly and stick as closely as possible to your sketch or model.
Stow The Water
Some people try to make their snow sculptures last longer by dousing them with water, but Berg says that’s not a good idea. (Water can discolor the snow, giving it a sickly pallor.) Once you’re done chiseling, just stand back and admire your handiwork!
Ready to Protect Your Home?
See how homeowners insurance could help protect what matters most.
Get a Quote Learn More